How to Build Custom WordPress Blocks for Faster and More Consistent Content Publishing

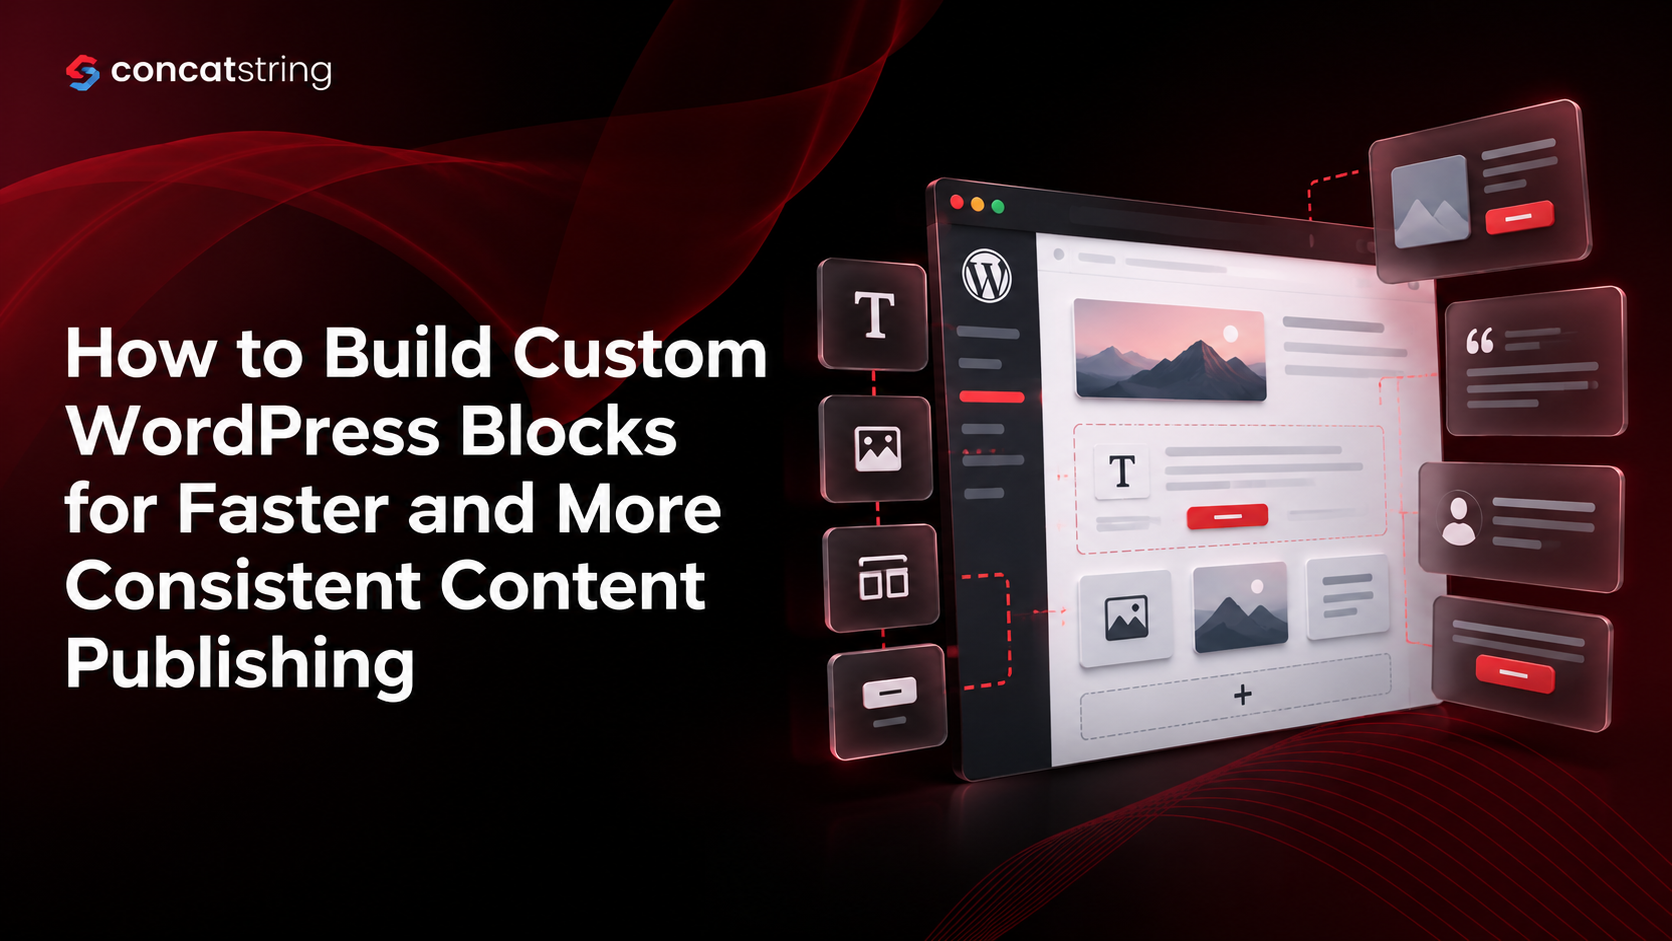
Publishing high-quality website content consistently becomes difficult when every page requires manual formatting, repeated design decisions, and developer assistance. WordPress powers a significant portion of the web: according to W3Techs' WordPress usage statistics, its adoption makes efficient content management an important consideration for businesses. Custom WordPress blocks offer a practical solution by turning frequently used content elements into reusable, editable components. From branded call-to-action sections to product highlights and author profiles, these blocks help teams reduce repetitive work, maintain design consistency, and publish content more efficiently without sacrificing flexibility or quality.
Table of Contents
Use AI to summarize this article
Why Content Teams Need Custom WordPress Blocks
Content publishing is no longer just about writing an article and clicking the Publish button. Modern content teams manage landing pages, blog posts, product descriptions, resource libraries, case studies, and conversion-focused website sections, often across multiple contributors.
When every page is assembled manually, even small differences in formatting can create inconsistencies. One writer might use the wrong heading style, another might create a CTA with different spacing, and a third might need a developer to recreate a familiar layout. These small inefficiencies accumulate as the publishing workload grows.
Custom WordPress blocks help address this problem by introducing reusable components directly into the Gutenberg block editor. Instead of rebuilding frequently used elements, content teams can insert predefined blocks, update their content, and publish pages within an established design system.
The real advantage is not simply faster editing. It is creating a repeatable publishing process in which writers can focus on content, designers can protect visual consistency, and developers can establish reliable standards.
For businesses looking to scale their digital presence, Concatstring can approach custom block development as a long-term investment in editorial efficiency, maintainability, and website quality.
What Are Custom WordPress Blocks?
Custom WordPress blocks are purpose-built content components developed for the WordPress block editor, commonly known as Gutenberg. Each block provides a defined structure, editing experience, and set of styling rules for a particular content requirement.
WordPress already includes core blocks for paragraphs, headings, images, buttons, columns, and other common elements. Custom blocks extend these capabilities by introducing components designed around a company's unique publishing needs.
For example, a SaaS company might need a product-feature block with an icon, heading, description, and CTA. An agency might need a case-study summary block with project details and measurable outcomes. An ecommerce business could benefit from a product-highlight block that follows a standard layout across category and landing pages.
Rather than requiring writers to assemble these elements individually, developers can create a single component that controls the structure and allows editors to change the appropriate content.
Official reference: WordPress Block API Reference.
How Do Custom Blocks Work in Gutenberg?
The WordPress block editor treats content as a collection of individual blocks. Each block can have its own attributes, editing controls, markup, styles, and rendering behavior.
A custom block typically includes a registration definition, an editor interface, and a method for saving or rendering its frontend output. Developers can define which fields editors can change, which styling options are available, and how the block behaves when published.
The WordPress Block API supports static blocks, dynamic blocks, and other specialized implementations. This flexibility allows developers to choose an architecture based on the content's purpose rather than forcing every component into the same technical pattern.
Reference: WordPress documentation on creating and extending blocks.
Custom Blocks vs. Reusable Block Patterns
Custom blocks and block patterns are related, but they solve different problems.
A custom block packages a specific content element into a dedicated component. A block pattern combines existing blocks into a predefined layout, such as an introduction section with a heading, paragraph, image, and CTA.
Consider a blog publishing workflow. A custom testimonial block could provide standardized fields for a customer's name, quote, and company. A testimonial section pattern could combine that block with a heading and supporting text to create a complete page section.
Choosing the right approach avoids unnecessary development. Use patterns when the goal is to assemble existing components into a familiar layout. Build custom blocks when the component requires specialized editing controls, data handling, rendering, or validation.
Official reference: WordPress Block Patterns documentation.
Why Custom WordPress Blocks Improve Content Publishing
The primary benefit of custom WordPress blocks is that they transform repeated editorial tasks into a structured process. Instead of relying on every contributor to remember formatting rules, the publishing system provides a consistent starting point.
1. Reduce Repetitive Formatting Work
Imagine a marketing team publishing 20 blog posts each month. Every post contains a CTA, an author profile, a related-content section, and a highlighted takeaway. If editors must manually recreate and format each element, the process introduces unnecessary work.
A custom block allows the team to insert these elements in a standardized format. Editors update the relevant text and links, while the block retains its underlying layout and styling.
The time saved depends on how frequently the component is used and how much manual work it replaces. Teams should measure the difference between their existing workflow and the new one rather than assume a specific productivity improvement.
2. Maintain Consistent Branding Across Pages
Brand consistency requires more than using the correct logo and colors. Typography, spacing, button styles, content hierarchy, and responsive behavior all influence how a website feels.
When these elements are recreated manually, minor variations are difficult to avoid. Custom blocks centralize their presentation rules, allowing developers to establish consistent styles that editors do not need to reproduce themselves.
For example, a CTA block can enforce the brand's approved button treatment, spacing, and typography while allowing the marketing team to customize the headline, supporting copy, and destination URL.
If the brand later updates its button design, the component's styles can be revised centrally, subject to the implementation and any saved-content compatibility requirements.
3. Give Content Teams More Editorial Independence
Content teams often depend on developers for changes that should not require custom development each time. Updating a headline, replacing a testimonial, or adding a product benefit should usually remain an editorial task.
Custom WordPress blocks can expose these fields through clear editing controls. Writers work within a familiar interface, while developers define the boundaries that protect the design and functionality.
This division of responsibility improves collaboration. Developers spend more time building useful publishing capabilities, while content editors spend less time waiting for routine changes.
4. Support Scalable Content Operations
A publishing system that works for five pages may become difficult to maintain when a website contains hundreds of landing pages and articles.
Reusable components help standardize common content structures across the website. New contributors can learn the same editing patterns, and existing contributors can produce pages without repeatedly making foundational layout decisions.
The result is a more scalable content operation in which publishing standards are built into the tools rather than maintained entirely through documentation and manual review.
How to Build Custom WordPress Blocks Step by Step
A successful block-development project begins with a clear editorial requirement. Writing code before understanding the publishing problem often produces components that are technically functional but rarely used.
Step 1: Identify Repeated Content Patterns
Start by reviewing existing blog posts, landing pages, service pages, and resource articles. Look for sections that appear repeatedly and require similar formatting.
A useful starting point might include CTA sections, testimonial cards, feature highlights, author biographies, statistic callouts, and related-article components.
The goal is to identify repetition that creates measurable friction. A section used on 50 pages is generally a stronger candidate than an unusual element that appears only once.
Document what editors need to change, what must remain fixed, and which variations are acceptable. This simple exercise helps determine whether a block, a pattern, or an existing core block is the most appropriate solution.
Step 2: Set Up the WordPress Block Development Environment
Modern Gutenberg development commonly uses JavaScript, React-based editor components, WordPress packages, and a build process. PHP may also be involved, particularly for server-side registration, dynamic rendering, permissions, and data retrieval.
The official WordPress block development guide explains the development environment, block fundamentals, and tools used to create custom blocks.
Developers can use the official create-block tooling to scaffold a starting project rather than configuring every file manually.
A typical project may contain the following files:
concatstring-blocks/
├── src/
│ ├── index.js
│ ├── edit.js
│ ├── save.js
│ └── style.scss
├── build/
├── block.json
└── package.json
This is an illustrative structure; the actual files and folders depend on the scaffolding tool and project configuration.
Keeping editor functionality, saved markup, and styling organized makes the block easier to maintain as its requirements evolve.
Step 3: Define the Block Using block.json
The block.json metadata file describes a block's identity, assets, attributes, capabilities, and other registration details. WordPress recommends metadata-based registration because it supports a consistent registration process and can improve asset management.
For example, a simple custom block might begin with the following metadata:
{
"$schema": "https://schemas.wp.org/trunk/block.json",
"apiVersion": 3,
"name": "concatstring/feature-highlight",
"version": "1.0.0",
"title": "Feature Highlight",
"category": "design",
"description": "Display a branded feature highlight.",
"textdomain": "concatstring",
"editorScript": "file:./index.js",
"style": "file:./style-index.css",
"attributes": {
"heading": {
"type": "string",
"default": "Feature heading"
},
"description": {
"type": "string",
"default": "Add your supporting description."
}
}
}
This example defines a block named concatstring/feature-highlight with two text attributes. The JavaScript entry point, build configuration, and registration code must also be implemented correctly for the block to function.
Reference: WordPress Block Metadata documentation.
Using a unique namespace is important because block names become part of the saved content representation. Changing a block's registered name later can require migration work.
Step 4: Build the Editor Interface
The editor interface determines how content creators interact with the block. A good interface should be clear enough for a nontechnical contributor to understand without consulting a developer.
For a feature-highlight block, the editing experience might include a heading field and a rich-text description field. The editor can then preview the component while making changes.
A simplified React-based example illustrates the concept:
import { useBlockProps, RichText } from '@wordpress/block-editor';
export default function Edit({ attributes, setAttributes }) {
const blockProps = useBlockProps();
return (
<section {...blockProps}>
<RichText
tagName="h3"
value={attributes.heading}
onChange={(heading) => setAttributes({ heading })}
placeholder="Enter feature heading"
/>
<RichText
tagName="p"
value={attributes.description}
onChange={(description) => setAttributes({ description })}
placeholder="Describe the feature"
/>
</section>
);
}
This example demonstrates the editing interface, not a complete production block. A working implementation also needs the appropriate block registration, save or render logic, build setup, and any required styles.
The most important design decision is to expose only the controls editors actually need. Too few controls can make a block inflexible, while too many can recreate the complexity the block was intended to remove.
Step 5: Decide How the Block Should Render
Custom blocks can save their markup in post content or generate output dynamically on the server. The right choice depends on the type of content being managed.
A static block is often suitable for a self-contained content element whose markup can be saved with the post. A dynamic block is useful when output depends on server-side data, centrally maintained information, or logic that should be evaluated when the page is rendered.
For instance, a manually written testimonial may work well as a static block. A block that displays the latest information from a custom post type may benefit from dynamic rendering.
Developers should consider how future updates will affect existing content. Changes to a static block's saved markup can trigger validation issues if compatibility and deprecation handling are not managed carefully.
Official reference: Static and Dynamic Blocks in WordPress.
Step 6: Apply Consistent Styling
The frontend should reflect the same design principles as the editor. A block that looks polished in Gutenberg but breaks on mobile devices creates additional work rather than reducing it.
Use the site's design tokens, typography settings, spacing system, and approved color palette wherever possible. Avoid hardcoding values independently across many components when a shared design system can manage them.
For example, a CTA block should maintain a predictable content hierarchy, sufficient contrast, appropriate button spacing, and a layout that adapts to narrow screens.
Test the component in the actual theme, since theme styles, global settings, and surrounding layouts can influence its appearance. WordPress's block styling documentation provides useful guidance on theme support and editor styling.
Step 7: Register, Install, and Test the Block
After implementing the block, register it correctly and package it as a plugin or an appropriate theme component. For functionality that should survive a theme change, a dedicated plugin is often the more maintainable choice.
Test the block in a staging environment before making it available to the entire editorial team. Verify that its fields save correctly, the frontend matches the editor preview, and the component behaves properly across supported WordPress versions and devices.
Testing should also cover empty fields, long headings, missing images, invalid links, and unusual content lengths. These situations frequently reveal problems that are missed when developers test only with ideal example content.
Which Custom WordPress Blocks Should You Build First?
Not every repeated element needs custom development. Prioritize components that appear frequently, consume editorial time, or create a meaningful risk of inconsistent presentation.
CTA Blocks for Conversion-Focused Content
CTA blocks are useful across blog posts, service pages, landing pages, and downloadable-resource pages. A well-designed component can standardize button styling and content hierarchy while allowing each page to use a relevant message.
For example, a marketing team might maintain separate CTA variations for requesting a consultation, exploring a service, and downloading a guide. The implementation can provide approved variants without forcing editors to rebuild each section.
Testimonial and Case Study Blocks
Testimonials and case studies benefit from consistent presentation because they contain structured information. A testimonial block might include a quotation, customer name, role, and organization. A case study block could include the challenge, solution, and documented outcome.
If the information is stored as structured data, it may also be possible to reuse it across multiple pages without copying it manually. However, any claims about customer results must remain accurate and verifiable.
FAQ and Resource Blocks
FAQ components help teams present answers in a consistent hierarchy, while resource blocks can organize downloads, related articles, and supporting material.
For FAQ blocks, accessibility, keyboard behavior, and the correct heading structure matter as much as appearance. Search visibility should not be treated as an automatic benefit of creating a custom block; useful answers, accurate markup, and compliance with search-engine guidelines remain essential.
Editorial Callouts and Statistic Blocks
Editorial callouts are useful for highlighting key findings, definitions, expert commentary, or important takeaways. Statistic blocks can present verified data in a consistent format, including a source or methodology note where appropriate.
For both types, editors should be able to update the content without accidentally removing essential attribution or changing the component's intended meaning.
How Custom WordPress Blocks Improve SEO and Website Quality
Custom WordPress blocks can support a better publishing process, but they do not automatically improve rankings. Their SEO value comes from how they help teams produce accessible, well-structured, useful, and technically sound pages.
Create a More Consistent Heading Structure
A well-designed block can encourage editors to use appropriate semantic elements rather than choosing heading levels solely for visual appearance.
For example, a page should generally have one clear main H1, with H2 headings for major sections and H3 headings for subsections where needed. A custom component should fit into that hierarchy without introducing misleading heading levels.
The exact heading level should reflect the page structure, not simply the styling desired by the designer.
Improve Accessibility and Content Usability
Standardized components make it easier to establish accessible defaults, including meaningful labels, sufficient color contrast, logical content order, and keyboard-friendly controls.
However, accessibility must be tested rather than assumed. Interactive blocks such as accordions, tabs, and sliders require additional attention to focus management and keyboard operation.
Consistent components can reduce the number of times teams need to solve the same accessibility problem, provided that the underlying implementation is sound.
Support Core Web Vitals Through Better Implementation
Google's guidance identifies three Core Web Vitals: Largest Contentful Paint (LCP), Interaction to Next Paint (INP), and Cumulative Layout Shift (CLS). Its recommended good thresholds are LCP within 2.5 seconds, INP below 200 milliseconds, and CLS below 0.1.
Source: Google Search Central: Understanding Core Web Vitals.
Custom blocks can support performance when they use efficient markup, avoid unnecessary JavaScript, load assets appropriately, and prevent unexpected layout shifts. Poorly implemented blocks can have the opposite effect by adding heavy scripts, large images, or excessive styling.
Measure actual page performance using field data and suitable testing tools. Do not assume that replacing manual layouts with custom blocks will automatically improve Core Web Vitals.
Make Content Easier to Maintain
When the same component is used throughout a website, its design and behavior can be managed more systematically. Developers can establish shared rules, fix recurring implementation issues, and document supported variations.
This is especially useful when a business maintains many landing pages or publishes content through multiple teams. The long-term benefit is a more predictable content system rather than a collection of independently styled pages.
Common Mistakes to Avoid When Building Custom WordPress Blocks
Building Blocks Without a Clear Use Case
A custom block should solve a recognizable problem. Creating a separate component for every minor variation can make the editor crowded and increase maintenance overhead.
Before development, estimate how frequently the component will be used, what effort it replaces, and whether an existing core block or pattern already meets the requirement.
Giving Editors Too Many Styling Options
Unlimited customization may sound flexible, but it can undermine the consistency that motivated the project.
Instead, define a sensible set of approved variations. A CTA block might support two color treatments and a small number of layout options, rather than dozens of arbitrary settings.
Ignoring Saved Content and Backward Compatibility
Blocks become part of a website's content architecture. Changing their attributes, markup, or registered names without a migration strategy can cause older pages to display incorrectly or trigger editor validation warnings.
Maintain version control, test upgrades, and use the WordPress block deprecation and migration mechanisms when saved-content formats change.
Treating Editor Preview as the Final Test
The Gutenberg editor and frontend can differ because of theme CSS, responsive breakpoints, or rendering behavior. A block that looks correct inside the editor may not work properly on a published page.
Test in a staging environment, on mobile and desktop, and with realistic content lengths before rolling out the component.
How to Measure the Impact of Custom WordPress Blocks
The purpose of custom block development is to improve an existing process. Teams should therefore establish a baseline before implementation and compare results after adoption.
Start by recording the average time required to assemble a representative page or article. Include formatting, responsive checks, and routine corrections rather than measuring only the time spent typing content.
Next, monitor publishing consistency. Review how frequently teams need to correct spacing, typography, CTA formatting, broken links, or other recurring issues. A successful block system should make the expected output easier to reproduce.
It is also useful to track the number of developer requests for routine editorial changes, the adoption rate of each block, and the time needed to onboard new contributors.
Finally, assess website performance and user experience independently. Review Core Web Vitals, accessibility, mobile rendering, and relevant conversion metrics where appropriate.
For example, a team could compare 10 representative pages before and after introducing a standardized CTA block. If average implementation time decreases and formatting corrections become less frequent, the team has evidence that the component is improving its workflow. The measured result should be reported as an observed outcome, not generalized into an unsupported industry-wide productivity claim.
Best Practices for a Maintainable Custom Block Library
Organize Blocks Around Editorial Needs
A block library should reflect how the content team actually works. Group related components under clear names and provide short descriptions that explain when each block should be used.
Avoid naming blocks after internal technical details that editors do not understand. A name such as “Feature Highlight” is usually more useful to a writer than a developer-oriented label that describes its implementation.
Keep Design Rules Centralized
Use shared design tokens, theme settings, and common styling conventions wherever possible. This reduces duplication and helps maintain a consistent visual system as the library grows.
Document which properties are intentionally customizable and which are controlled by the design system. Clear boundaries reduce accidental variations without preventing editors from meeting legitimate content needs.
Make Maintenance Part of the Development Plan
A custom block library needs ownership. Assign responsibility for reviewing WordPress compatibility, resolving bugs, updating dependencies, testing changes, and documenting editorial usage.
Store source code in version control and use a staging environment for changes that affect published content. For blocks that manage important business information, also plan how existing content will behave if the plugin is temporarily disabled or the implementation changes.
Start Small and Improve Through Feedback
Launch a focused set of high-value blocks before building a large component library. Ask editors which controls are confusing, which components save the most effort, and where the workflow still requires manual corrections.
Use that feedback to refine the interface and prioritize the next round of development. A small, well-maintained library that teams actually use is more valuable than a large collection of blocks that adds complexity without solving meaningful problems.
Conclusion: Build a Faster, More Consistent WordPress Publishing Workflow
Custom WordPress blocks provide a practical way to turn repeated publishing tasks into standardized, reusable components. They help content teams reduce manual formatting, maintain brand consistency, and work more independently while giving developers greater control over the underlying implementation.
The most effective approach begins with recurring editorial problems, uses the appropriate mix of custom blocks and patterns, and prioritizes accessible, responsive, maintainable code. Clear testing and measurable workflow improvements should guide development rather than assumptions about productivity or SEO results.
For growing businesses, the objective is not to customize every part of WordPress. It is to create a publishing system that makes high-quality content easier to produce and maintain as the website expands.
With a carefully planned implementation, Concatstring can help businesses develop a more structured WordPress content workflow that supports long-term publishing efficiency and a consistent digital experience.
Build a Better WordPress Publishing Workflow With Concatstring
Is your content team spending too much time formatting pages, recreating layouts, or requesting routine website changes? Custom WordPress blocks can help simplify these tasks while keeping your website aligned with your brand standards.
Concatstring can help you plan and implement a WordPress block library around your editorial requirements, from reusable CTA components to structured content sections and scalable publishing workflows. Focus on building a system that gives your team more control, improves maintainability, and makes consistent publishing easier.
Explore how a tailored WordPress development approach can support your website's content and growth goals.
FAQs